Gun Review: Ruger PC Carbine
Mar 18, 2022 // By:admin // No Comment
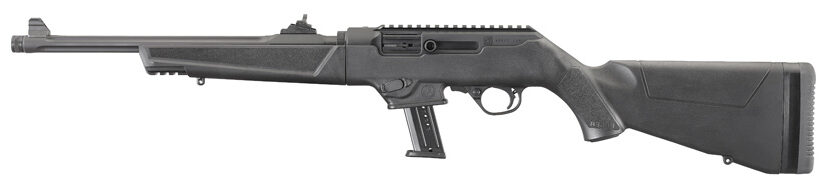
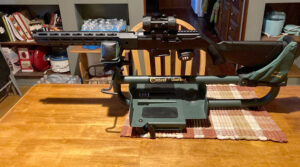
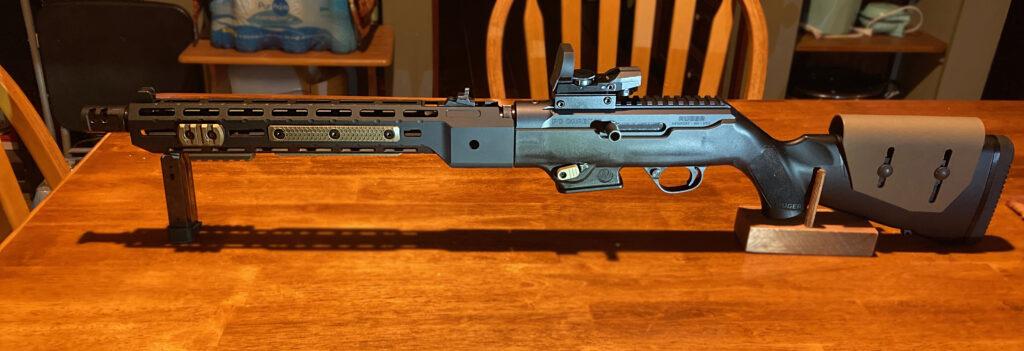
Here is my latest purchase (assembled)
a Ruger PC Carbine 9mm
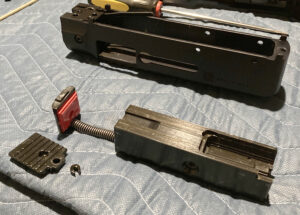
did I mention that it’s a take down ?
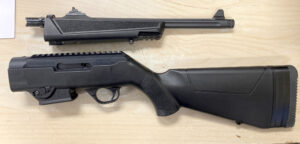
Yup, there is is (the chamber at the end of the barrel is the bayonet mount fitting into the action of the receiver.
It’s a very nice setup.
You are likely asking ? “what’s the bid deal ?”
I’ll answer that with “it uses my existing 9mm ammo”
It uses pistol magazines
- Ruger SR9
- Ruger Security-9
- Ruger American (with adapter installed)
- Glock mags (with adapter installed)
- and found adapters on eBay for Sig mags (including the 365)
I have a number of existing firearms in my house and plenty of ammunition for them in 9mm
(already keeping different ammo for 30-06, .38 SPL, .380, and .22LR … I don’t want any more calibers to worry about)
I want a carbine that can use one of my existing calibers. (and a PC Carbine fits that need, well … at least for 9mm which is the most common caliber out there)
the criteria for the choice:
- reputation of manufacturer
- dependability of item
- ease of use
- accuracy (for short-medium carbine use … 50-150 yards)
- flexible platform (accessories)
- ease of loading and cleaning
- compact and maneuverable
added features
- 1/2 x 28 threading for muzzle break (or suppressor)
- picatinny rail for scope or red dot
- adjustable butt stock (inserts)
- full adjustable rear sight (windage and elevation
- front sight has bladed protection
- reversible charge bolt
- reversible Mag Ejection
- gain approx. 200 ft/second on bullet velocity due to the 16″ barrel)
- basic observations
- not cheaply made (good solid feel, cold forged barrel with fluting)
- good sights (both mounted on barrel so the sight radius is a bit short)
- a little heavy for a carbine, but manageable
What I’ll be doing to it:
stage 1 (done)
- disassemble, clean (degrease), lube, and reassemble
- switched charge handle to left side
- changed inserts in butt stock for custom length
- fine tuned iron sights at indoor 25’ yard range (then later at outdoor 100 yard range)
Stage 2 (done)
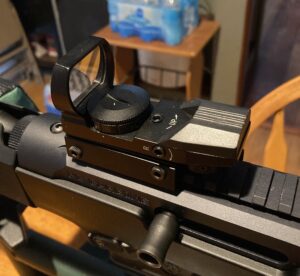
- add tactical red dot sight in forward position
Stage 3 (done)
- replaced grip with 14” extended M-Lok hand guard rail (Midwest Industries)
- (more flexibility in attachments and better cooling of barrel)
- installed 2” picatinny rail at forward bottom of new guard rail
- (place for bipod)
Stage 4 (done)
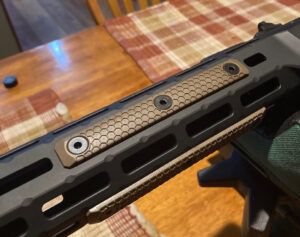
- installed additional picatinny rails (Grolent Dark Earth)
- (place for light, laser, and Mantis X 10 training module)
Stage 5 (d0ne)
- replaced action pins and trigger pin (full length steel pins)
- (easier strip down, cleaning, and servicing)
- installed better recoil buffer pad at rear of bolt action (and steel retainer for guide rod)
- (more durability and life of rifle)
Stage 6 (done)
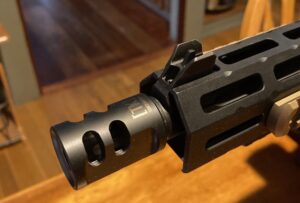
- added 1/2×28 threaded compensator (Tandemkross Game Changer muzzle break)
- (do I really need to explain this one ?)
Stage 7 (done)
- install m-lok grip panels on sides and bottom of hand guard rail
- (comfortable grip on M-Lok)
- replaced mag eject with extended button
- (faster mag reload functionality)

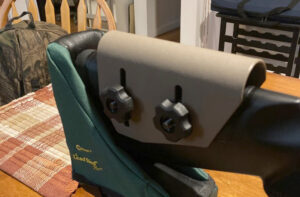
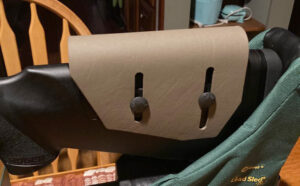
Stage 8 (done)
- install Kydex adjustable cheek riser.
- (consistent line of sight along butt stock)
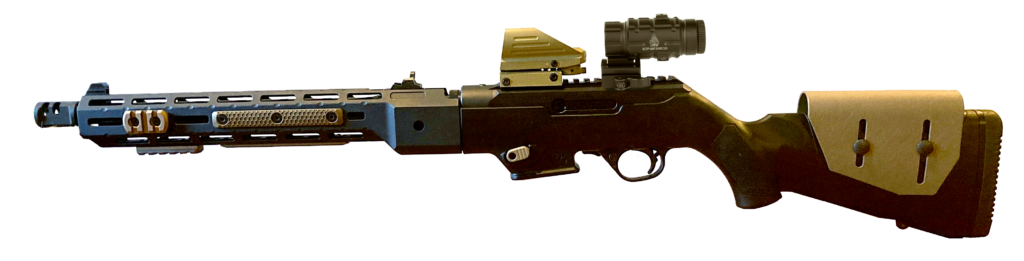
the final result:
ironically, right after sighting in the red-dot at 50 yards (and looking to going 100 yards the following week)
the reticle died on me !!
so … I found this one and sighted it in instead

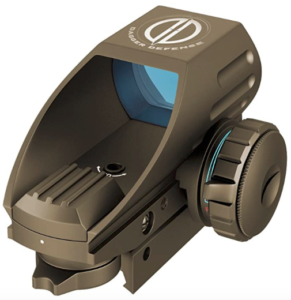
I had to also put a UTG 3x flip out magnifier behind the optical sight
so now …